Saturday, August 30, 2008

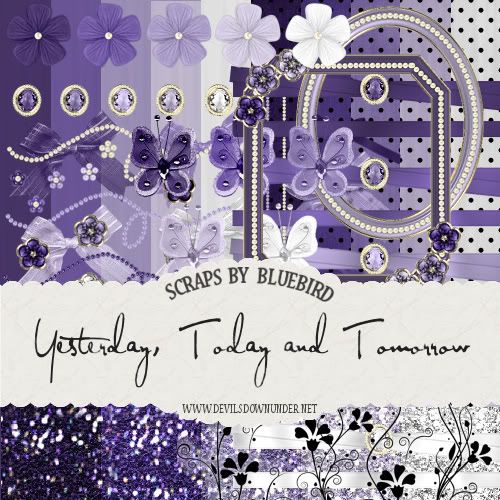
Yesterday, Today and Tomorrow Kit

This kit was inspired by a tree where the flowers turn from purple to white over a few days. Hope you like it.

Kit Contains:
10 papers
5 glitter tiles
5 flowers
6 frames
1 gold frame back
2 pearl frame inserts
5 ribbons
5 wraps
5 butterflies
10 gem flowers
5 gemstones
6 pearl strands
10 bows
5 doodles


DOWNLOAD HERE

Thursday, August 28, 2008

Bow Wrap Script

This script needs to be applied to my basic ribbon script ie make your ribbon then run the bow wrap script. You can then trim the ends to fit a frame. Bow and ribbons on separate layers.


DOWNLOAD HERE

Basic Ribbon Script

This makes a nice satin look ribbon from your choice of colour, gradient or pattern. Greg's Pool Shadow filter (free filter) is required.

PLEASE NOTE: This is only a small ribbon ie under 600 pixels long. Everything I make is aimed at taggers and is not necessarily suitable for digital scrapbooking size wise. I have a tutorial here on the blog on how to make this ribbon yourself if you would like to make it in a larger size.


DOWNLOAD HERE

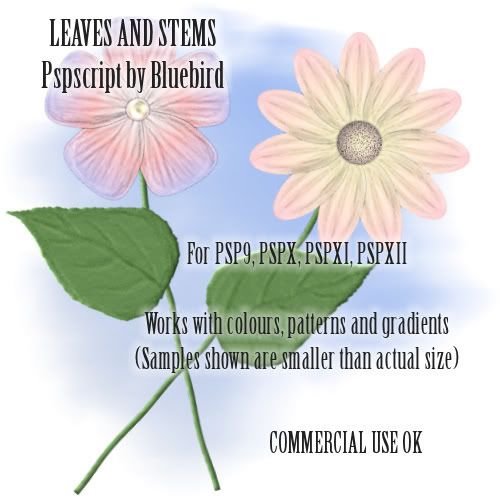
Leaves and Stem Script

Some leaves and a stem to go with the flowers. PSP9 script included in the download folder.


DOWNLOAD HERE

Tuesday, August 26, 2008

Thank Yous and Your Welcomes

I'd like to thank everyone who took the time to leave a comment either here or on my 4shared - it really is wonderful to read through them and know that what you have done has been appreciated.

I'm glad everyone is enjoying the scripts because I'm certainly having fun writing them. I hope to have some more up soon.

Monday, August 25, 2008

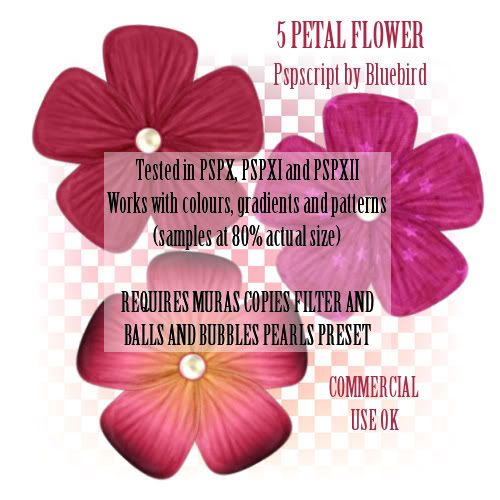
5 Petal Flower Script

Here's another flower script for you to have a play with. You will need MuRas Copies filter and the Pearls preset for Balls and Bubbles (from PSP8). Enjoy -


DOWNLOAD HERE FOR X, XI AND XII

DOWNLOAD HERE FOR PSP9

Thanks again to Raeven for the version 9 script.

Making Your Own Textured Overlays

This technique is mostly used for making scrap papers.

YOU WILL NEED:

* Paint Shop Pro (I use PSPX but you should be able to do this in all versions)

* Digital camera


LETS START:

1. Take your camera and go for a walk around your house, inside and out. Take photographs of any interesting textures you come across eg dirty concrete, wooden fence, rock face, gravel, grass, sand, fruit skins, close ups on leaves or flowers.

2. Load your photographs to your computer. Open the photograph you want to use in PSP.

3. Take a critical look at the photo and decide if you want to use the whole photograph for your texture or just a portion of it. At this point, crop or resize your photo to a size suitable for your project.

4. I like to make my textures seamless if possible as this gives you a little more flexibility in the size you can use as you can use it as a pattern fill. There are many free filters out there that you can use to seamless tile but I prefer to use the one that comes with PSP. Effects menu - Image Effects - Seamless Tiling. Adjust the settings and try the different options until you get a result you are happy with.

5. To apply your texture you paste your photo as a new layer above what you want textured. Change the layer blend mode (on the layer palette) to find a setting you are happy with. I use hard light or overlay the most.

TIPS

* If you don't want the whole layer textured, make sure you select the part that you do want textured first and delete the excess from the overlay layer.

* You can change the layer opacity if you feel the texture is too heavy.

* Use Adjust Brightness and Contrast on either your overlay or bottom layer to brighten or darken your result.

* Apply different filters to overlays for different effects.

* Use two overlays for different effects.

* Scan rather than photograph swatches of material or other small items.